
In this module, we will cover plugins. Plugins are what Maven uses to build and package our application, as well as do anything outside of just downloading and storing artifacts for us. We’re going to cover what goals are and goals tied to phases, so we’ll also discuss phases in this module. Then we’re going to go over the Compiler Plugin, and we’ll look at it for a demo using the Compiler Plugin. Then we’ll cover the Jar Plugin, the Sources Plugin, and lastly the Javadoc Plugin. We’ll actually go through a demo for each one of these plugins in our demo section for this module.
This Articles Contents
Goals(maven plugin)
So throughout this training, when you’ve seen us run things like compile or clean or package, those have been goals. Goals are actually just plugins configured in the Maven install. So you’ve seen us run things like clean, compile, test, package, the various install and deploy commands. Those are all basic goals that are defined find inside the Super POM. The Super POM has these goals defined in it, which are then added to your effective POM. Now this doesn’t make much sense to you right now. Don’t worry about it. That’s what we’re actually going to cover in this module.
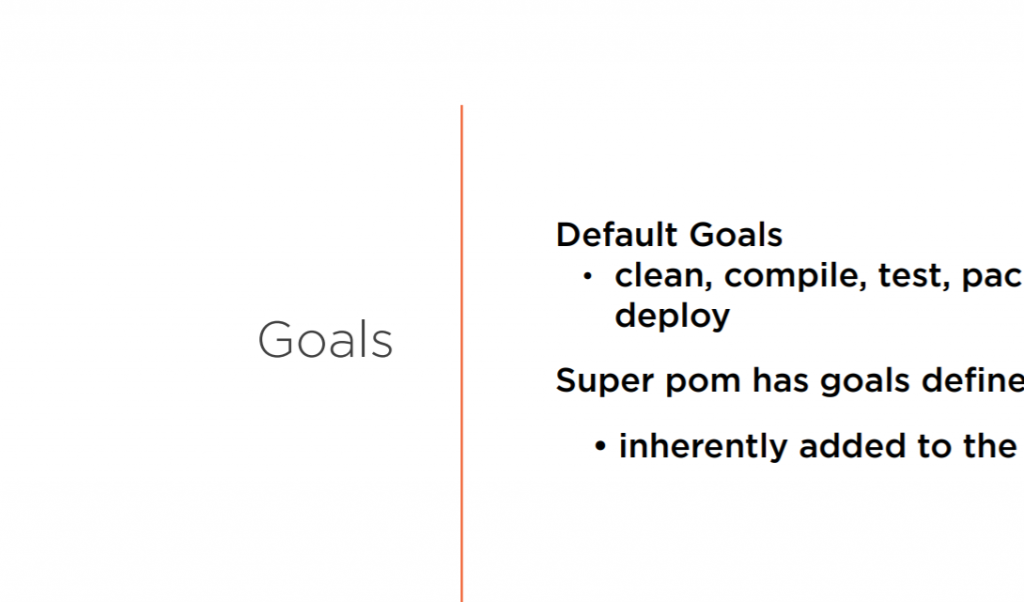
But basically, we can configure all of these plugins inside of our own project POM to tune and tweak what we want them to do, and it’s fairly common to do so. A good example of this is the clean plugin. The clean plugin is a very basic plugin, but maybe you’ll only want it to run during certain phases, or you want to have it always run. Say you wanted to force it to run every time you compile. You could change which phase it’s tied to. Right here, it’s tied to the clean phase, but we could tie it to the initial phase. So goals are always tied to a phase, and you can see from this example that it is just set for the clean goal and clean phase.
<plugin>
   <artifactId>maven-clean-plugin</artifactId>
   <version>3.1.0</version>
   <executions>
      <execution>
         <id>clean</id>
         <phase>clean</phase>
         <goals>
            <goal>clean</goal>
         </goals>
      </execution>
   </executions>
</plugin>
Phases(maven plugin )
Phases themselves are actually fairly boring to talk about, but we’re going to run through them really quickly just to give you an idea of what phases are available for you to tie your plug‑ins to. We start off with the validate phase, and this validates the project as correct and necessary and has all of the information available. It has all the plug‑ins that it needs, it has all the artifacts downloaded, all of our structures in place, has permissions to create these directories, or do things like that. Then there’s the compile phase.

Compile is exactly what it sounds like; it’s where we compile our source code out. It should be of note, though, that this is not where testing code gets compiled. That happens in the test phase of our application. Testing tests the compile source code and actually compiles our test source code and makes sure all of the resources are in line with our test package, so our src/test/java directory. Then we have the package phase. The package phase packages all of our code in its defined packaging such as jars. If you remember at the top of our POM, we have the packaging type associated with that. It doesn’t do anything with it once it is packaged, but allows us to test to make sure that everything is in its proper order that it should be.
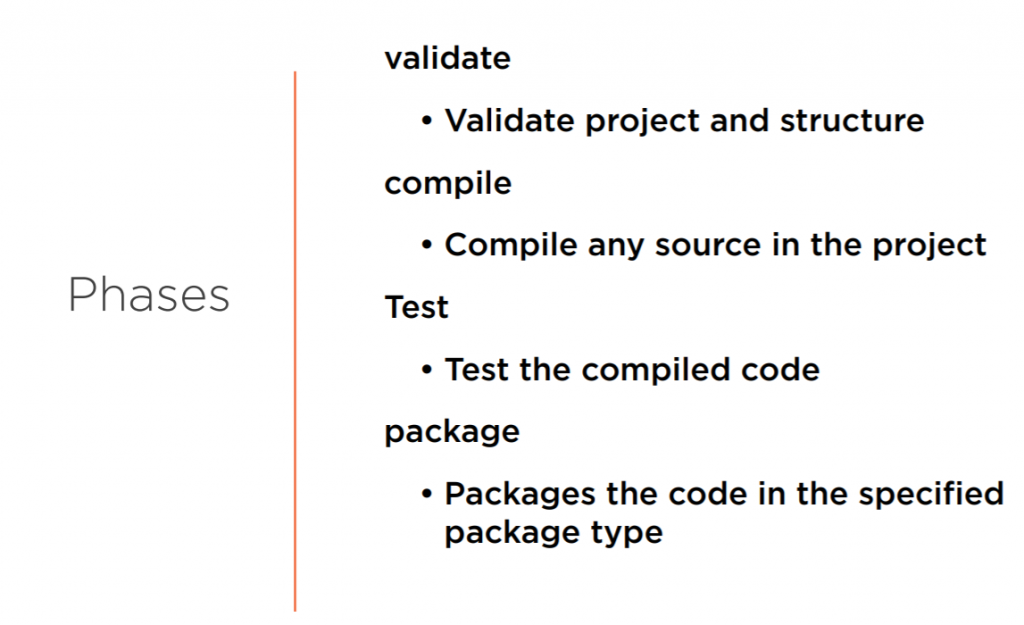
A lot of people will tie generating resources or Javadocs or stuff like that to this phase, which we’re going to talk about here in just a second. The other phases that we have are the newer to Maven integration‑test phase. This will allow us to deploy and run integration tests. A lot of people don’t use this yet because it’s still a newer phase to the Maven life cycle. Then we have the verify phase. This runs checks against our project to verify that it’s good and meets all the requirements that it should before we install it in our local repository or we deploy it to a remote repository. Our install and deploy have almost the same goal. The install will package it and put it in our local repo, where the deploy will copy it up to a remote repository.
The Compiler Plugin(maven plugin)
The compiler plugin is exactly what it sounds like. It’s the plugin that we use to compile our source code in our application. We use this compiler for both our source code and our test code, although it does run in different phases for each. One thing of note is that it does invoke javac, but it does a lot more than that. It does so by setting the class path with the dependencies from our application. So if you remember from the previous module when we defined our dependencies and they have scopes that are associated with them or those types of things, the compiler plugin will build our class path based off of what those dependencies are and their classification of scope. One thing of note is that it does default to an older version of Java, Java 1.7, regardless of what JDK you have installed.

For this reason alone, I would say that the compiler plugin is the most overwritten plugin as far as customization inside of all the plugins. We can customize this plugin by defining the configuration section. Now, the plugins documentation or description looks just like this on the left. This is how we define it inside of our application. It looks pretty straightforward. We can see a few things here that we have, our groupId, our artifactId, and then our version, but then we have the configuration section where we can specify a handful of things. We can tell that we want it to fork, which means to spin off on its own thread. We can set the min and max memory. So if you’ve ever run into compilation problems where you haven’t had enough memory on the heap or whatever, you can specify those memory settings here inside your configuration. We also have our source and target directories, which is mainly the two features that people overwrite the most to tell it to use a different target than what we’re compiling to.
Demo: Compiler Plugin
we actually had to jump ahead and add the plugin for the Maven Compiler early on in the course to use a newer version of Java. This was required after about Java 8. It doesn’t really matter though if you want to specify the version of Java. Like I said, this is the most overridden plugin there is inside of a Maven project. You’re going to define this anyway, so we jumped ahead a little bit. But now that you understand how plugins work and that we have a build section, let’s just review it quickly. So inside of our build section, again, we have a plugins section because we can have multiple plugins, and then we have defined the maven compiler plugin inside of here. It has the groupId of org.apache.maven.plugins and the artifactId of maven.compiler.plugin.
The version is 3.8.0 and the configuration and, specifically, the release is version 11 inside of here. Now I want to show you one small change inside of here just for the sake of an example. If we wanted to compile this down to Java 9, and we save this, it’ll go through and it will build our project, but it’ll give us a warning or an error stating that the project space isn’t up to date with the configuration. And you can tell that by our project name having a red X in it, or if we looked at the Problems section in our application down below here, the project configuration is not up to date with the pom.xml. Now, how we resolve that is we go right‑click on our project, go down to Maven, and Update Project. Click OK.
And it should go through, rebuild our application, and you’ll notice that it has now configured our project to be a JavaSE‑9 application. Well, we know we want to go with the later version, so we’re going to switch it back to 11. And at the time of recording, Java 12 has been released, but the plugin isn’t working as nicely with the IDE. So when things are a little bit more flushed out, you’ll be able to change this to 12 and it will embrace the Java 12 JRE. So let’s switch this back to 11. Save it, right‑click on our project again, say Maven, Update Project, click OK, it’ll do the same thing. It’ll go refresh, build your application, and then bump it up to JavaSE‑11.
The Jar Plugin
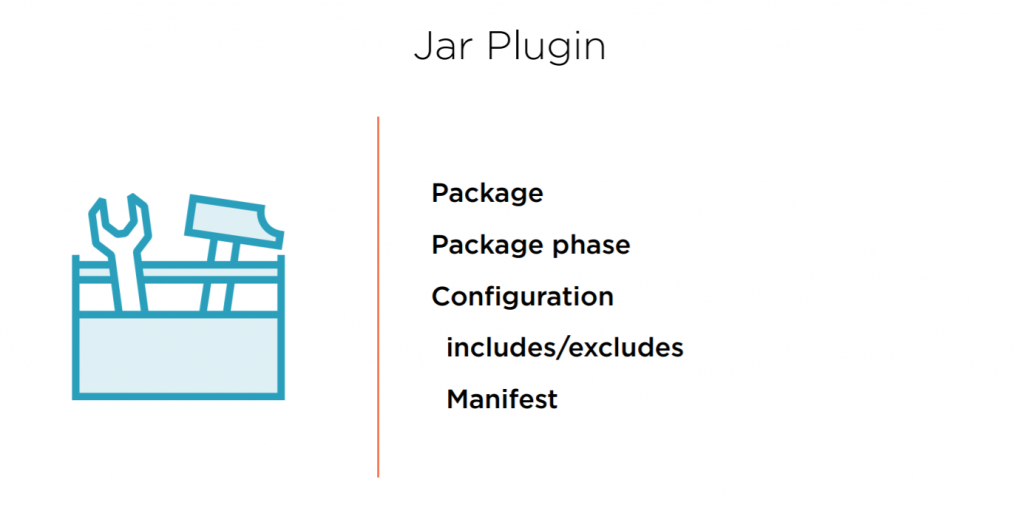
The JAR plugin is used to package our code into a JAR file, and it’s pretty straightforward as far as its configuration’s concern. Its output result is going to make a JAR, and it’s usually tied to the package phase of our build lifecycle. Now the Configuration section will allow us to do a couple of things, but nothing too extravagant here. We can change the includes and excludes, so if you want to only package certain things inside your JAR, like maybe you don’t want generated source code in there or you want to include XML files, you can specify what you want in that section. It will also build our manifest for us. An example of this is that I can define a plugin in the Configuration section, tell it to use the default manifest that it can generate, so it will take our build and make our manifest file for us and package up our application into a JAR automatically.
Demo: Jar Plugin
The Jar Plugin is already configured by default as part of the packaging phase, but if we want to configure it, we have to change some things on our own. So let’s go ahead and add that plugin to our POM now. Let me go ahead and make this full screen so you can see it a little bit easier, and I’ve gone ahead and typed this all out already so you don’t have to watch me type this in, but I want to call out a few specific things here. So same groupId, org.apache.maven.plugins. They’re not all from there, but a lot of them are. The artifactId is maven.jar.plugin, and we’re not overriding the phase, so we’re going to leave that configuration out. The version is 3.1.2, and the configuration section, I’ve included a little snippet to make it forcefully include all XML files in all subdirectories.
So here’s an example of us using this plugin with a specific configuration that will go navigate our parent directory and recurse through all of our directories as we’re building our jar to include all XML files. So that double asterisk says go through all the directories and look for anything named .xml on the end of that extension. So this is a basic configuration for the Jar Plugin, and you can run that inside of your application, or we can go ahead and go to our command line, and do maven package, and it will download any plugins that it needs to still compile your application, and then go through and include all of those resources into your final packaged built jar, and this is a little reminder that as you run some of these new functions, it’s going to go through and download them all the very first time you run it, and then they’ll be cached after that.
But you can see here we’ve now built our jar, and if we have any XML files in our subdirectories, they’ll automatically be included inside of that jar file. Likewise, you could exclude XML files, and just change it from the includes to the excludes configuration, and do that exact same thing.
The Source Plugin
The Source Plugin can often be confusing to people because they think it’s doing more than what it actually does for our application. All it does is package up our source code for us so that we can distribute it for context.sensitive help inside of our IDE or to make some more code.intensive javadocs. It’s, by default, also tied to the package phase just like we saw with the JAR Plugin, and it’s frequently even overridden to a later phase than that.
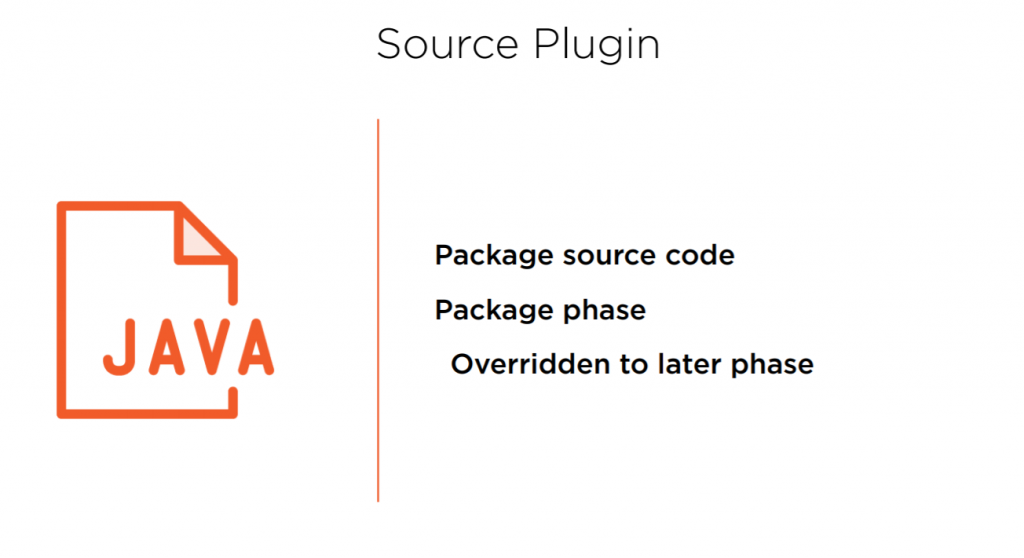
If you’re running package a lot and you don’t want to sit there and wait for it, people will just tie it to the install phase or even the deploy phase just because it’s slowing their build down. If you remember the verify phase, it’s run right before the install and deploy phase. We’re going to walk through an example of altering this plugin to tie it to a later phase, and in an upcoming demo, we’ll do the same thing with the Javadoc Plugin.
Demo: Source Plugin
To configure the Source Plugin, we’re going to just go down in our plugin section again and add another plugin. We’re going to add this plugin here. It’s another one from org.apache.maven.plugins. It’s the maven.source.plugin. The version is 3.1.0, and then the execution section is where it gets interesting. As I mentioned before, we were going to tie this to a later phase.
And so we went ahead and added an execution section and a specific execution inside of there that’s tied to the jar and the install. So this is one of the latest phases that we could tie it to. Now I’m going to go ahead and open up our command line again and do a mvn install, and it will go through, download anything it needs to, compile the source code, and then it will build out the jar and the sources.jar to our target directory. So if we cd to target and do a dir, you’ll see that we now have two jar files in here. We have our sources.jar and our artifact that we’re trying to create. So it went ahead and created that and pushed it to a later phase inside of our build lifecycle, and this is what it looked like to configure that.
The Javadoc Plugin
The last plugin that we’re going to look at configuring is the Javadoc Plugin, and the Javadoc Plugin is almost identical to the Source Plugin in the sense that we’re going to take our javadocs and patch them into a JAR file when we upload them to our repository. Just like the Source Plugin, you can browse the Javadoc Plugins website to see any other additional information or goals that are available there, but it’s really pretty straightforward.
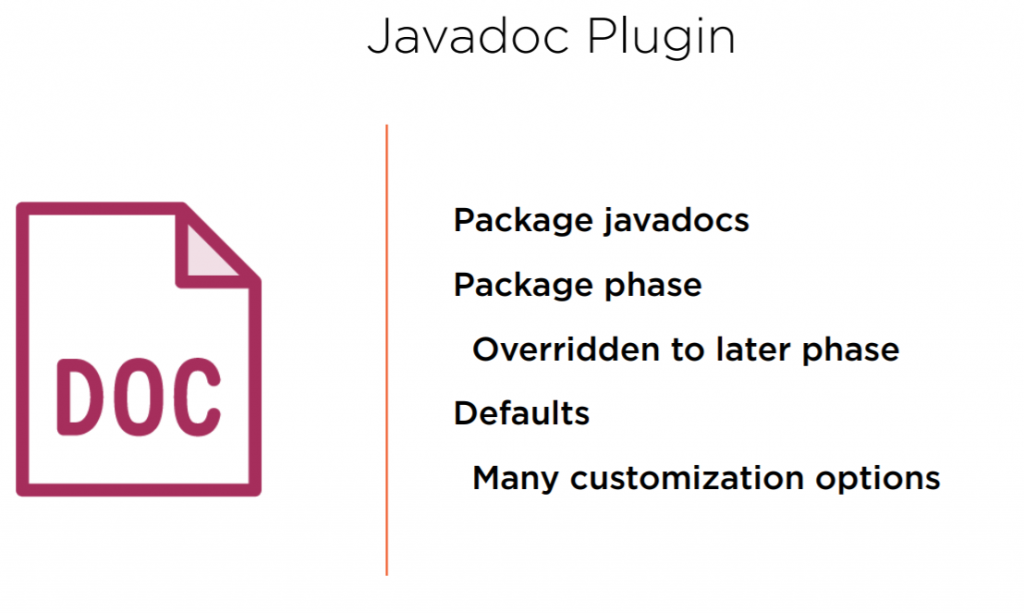
We typically tie it to our package phase, but if we’re running package a lot, we can hinder performance, and so we’ll tie it to a later phase like the verify phase or how we did with the Source Plugin, the install. Usually, we just use the defaults, but if you have customized javadocs for your company, maybe throw in your company logo or change colors or whatever. You can customize all this inside the Javadoc Plugin configuration. So this plugin is defined almost identical to the source plugin in the sense that we have our group ID, artifact ID, and version, and then we just tie it to an execution section. Let’s see what that looks like now.
Demo: Javadoc Plugin
The Javadoc plugin is typically tied to actually a Maven site goal. And just to show you an example of overriding it, we’re going to tie it to the same configuration we had for the Source Plugin. So I’ve gone ahead and type this all out already, and you can see we have the org.apache.maven.plugins groupId again, the maven.javadoc.plugin artifactId, and then a version 3.1.0, and we’ve tied it to those same execution goals and phase that we had upabove.
You may just want to copy that and paste it from up above yourself. I’m going to go ahead and save this, and then go out to my command line, and run maven install again, and it will go through, and this will take a little bit longer. You’ll see why people tie this to later phases. It’ll go through and check all of the source structure, and then generate all those HTML files for us. Now we could navigate down into the target directory and show you the apidocs.
In fact, we’ll do just that. If we do a dir, you can see the folder apidoc that wasn’t there before, but let’s go to the actual Explorer and navigate into it, and you’ll see that we have an index, and this is the Javadocs, just like you’re used to normally seeing when you go look at anything for the Java API. We don’t have any other classes, so looking at it in the form of a package structure, when we’re using the default package doesn’t do you any good, but you can see how this goes through and builds all of this documentation and information for us by default.
So, it’s really a handy plugin if you are producing a public API, or you have multiple teams working together, and you want to share some documentation with that other team, and not have them need to go through all of the source code to figure out what they’re trying to do with this API. So the Javadoc API is really easy to use, and if you comment your code, it’ll actually go through and build all this documentation for you automatically.
Summary
In this module. we learned that goals are really just configured plugins inside of our application, and we just accept the defaults that are actually coming out of the Super POM that plugins are tied to and one of the defined phases. We can usually override these to do specific things for our application, though.
The Compiler Plugin is defined for us, but we usually need to change that to specify a version of Java. The default is six, and that will shortly be upgraded to probably seven or eight because they are near end of life, and we usually want whatever the latest version is, anyways. The jar plugin is one of the default plugins that’s also configured for us automatically, but we can override that to do things like generate our manifest file or do includes or excludes based upon files we want to include inside of our jar.
And lastly, the Source and Javadocs Plugin can easily be configured to generate our code and install them with our corporate repository for use by other developers. This is really a good practice as we’re stepping through code or debugging things. We usually want to see what code is tied to it and why it’s breaking. We can step through that source code or find help for those Javadocs, and it makes it a lot easier for developers. This is becoming more and more important with microservice architectures and having separate teams work on separate pieces of the application.